


Our London Reel Workshop Recap
–
We are now at the 3rd edition of our Reel Workshop, this time hosted at the beautiful Kemble House Studio.
Kimberly (thelittleplantation) and I have been working together for 8 years now, and honestly, we can practically finish each other’s creative sentences at this point. What makes our workshop really special is how our different approaches actually complement each other, giving our students something truly valuable—you don’t just get one perspective, you get two different viewpoints that work together, and more options to find what clicks for your own style.
Our goal is really simple: we want to help you cross that frustrating gap between “I have this amazing vision in my head that never quite comes out right” and “Wow, I actually created something I can’t wait to share!” —we want so set up our students with sustainable practices so they can keep creating food photos and videos that they love.


The Pressure Is Real
Some of our attendees are food bloggers, some are photographers approaching the industry, and some are consummate professionals.
But for us all the truth is, Reels are relevant, we cannot ignore that to be able to “make the cut”, we have to communicate with videography storytelling on top of photography.
I want to acknowledge that there’s this unspoken pressure that comes with social media. The comparison trap and the constant feeling of needing to “keep up” are real challenges.
We get it.
That’s exactly why we help our students find ways to make content creation a sustainable practice for their different needs.
These are all skills that can be taught. But our biggest effort goes into giving the students multiple tools so they can vary their content accordingly to their needs for content creation and time. And also the client’s budget, if that’s what they are gonna do next.
I believe our students’ biggest emotional breakthrough comes from realising that the right guidance transforms confusion into motivation. Creativity thrives on clarity, and the feedback we receive confirms that we’re successfully supporting our students in finding their confidence with videography and styling.
Day One: Setting The Foundation
Welcome, Refreshments & Introductions
We kicked things off with coffee, fresh focaccia, and a round of introductions where everyone shared their biggest content creation struggles. The relief in the room was palpable when people realized they weren’t alone in feeling overwhelmed by Reels.
“I literally never post the videos I try to make,” admitted one of our students, a food blogger who creates amazing recipes. By the end of the workshop, she’d not only created her first Reel footage but was excited and motivated to make more.
The Art of Short Reels
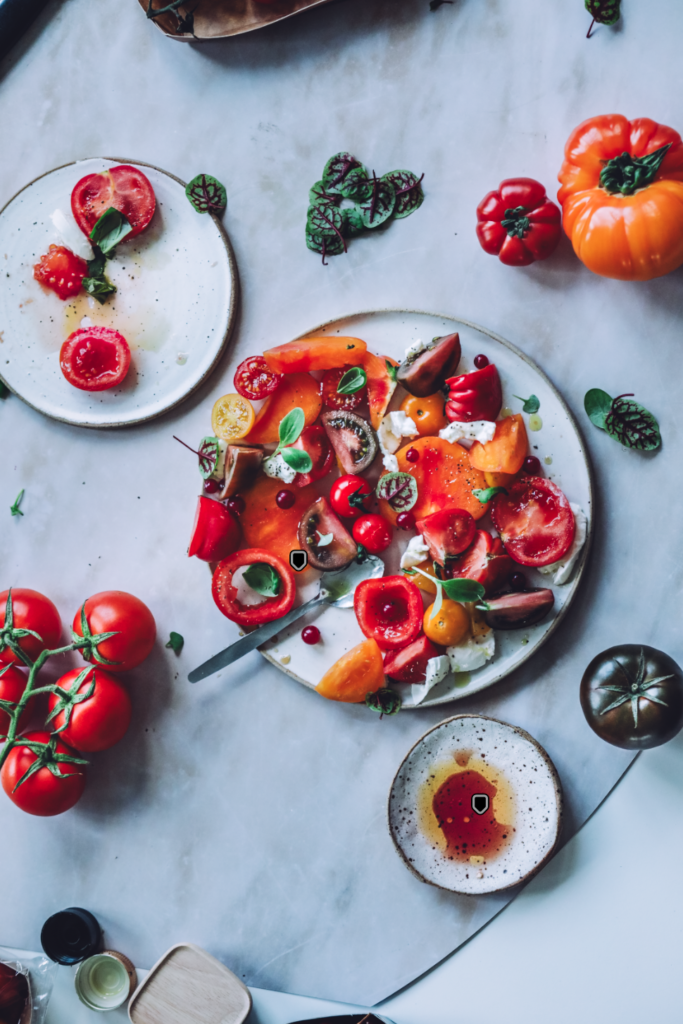
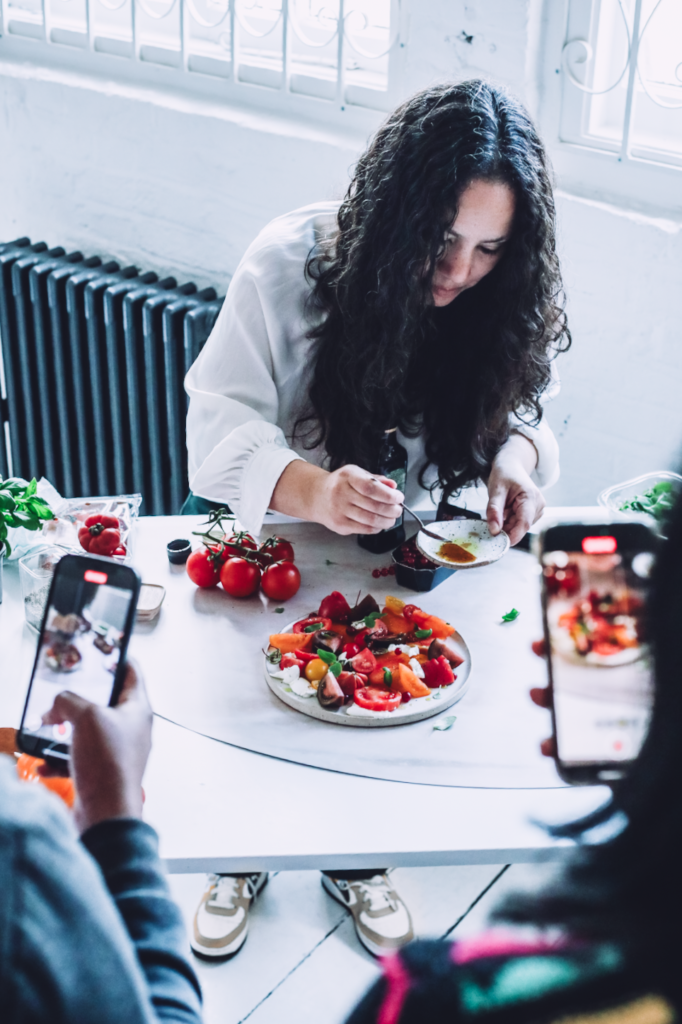
With show-and-tell sessions, we explored how to transform a dish from “just food” to a visual story. I styled a drink, and then Kimberly styled a salad, and after each sesh the students had the chance for hands-on practice. Students learned:
- How to set the camera for videography, dos and don’ts of camera settings for Reels, and capturing different angles.
- How to create the footage for effective transitions and actions worthy of “slow-motion” to create an engaging Reel with peaks and valleys that keep the audience hooked.
- The process of thinking and creating the sequence for efficient editing and exciting results.
- Kimberly showed her magical touch with her unmatched food and colour styling.
- Demonstrating how she creates an effective hook for an exciting reel with video and stop-motion.
- She went deep into colour theory and composition. Students learned the gaps between good styling and one that doesn’t work quite as well.
I literally heard the collective gasp when a few tomatoes became a stunning colour story in Kimberly’s hands.


Composition & Transitions: The Magic Ingredients
Perhaps the most eye-opening part of our journey was demonstrating how the right styling and the key transitions can elevate a Reel from amateur to professional-looking. We broke down the recipe-to-table sequence that performs so well and practised those satisfying drops and swipes that viewers love.
The behind-the-scenes helped our students to understand how a seemingly spontaneous shot actually required some solid planning and helped demystify the process.
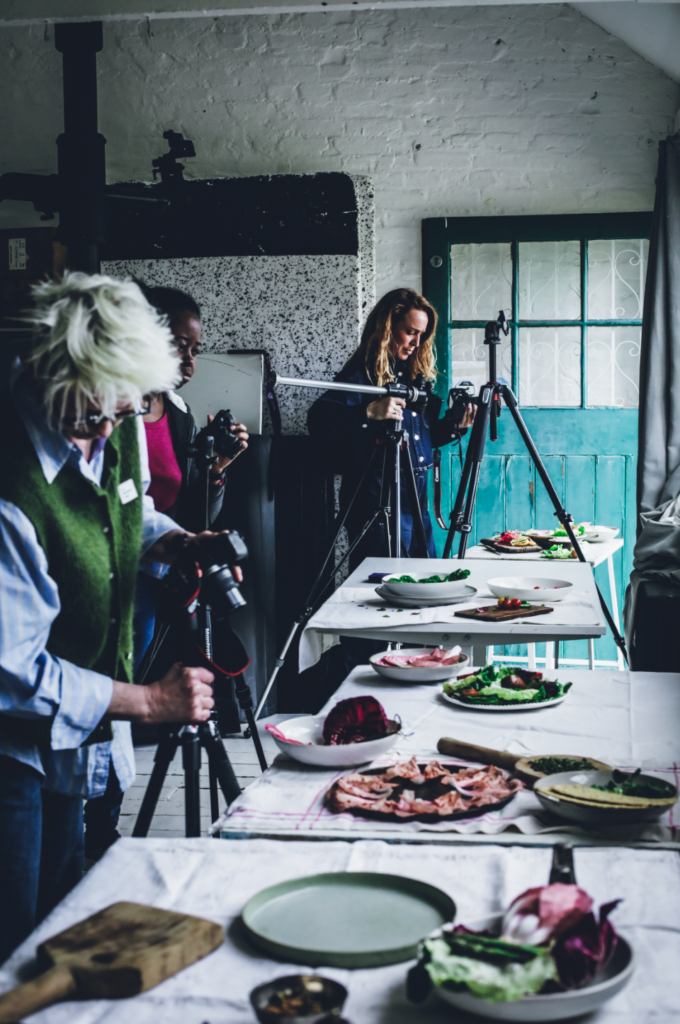
Hands-On Practice: Your Turn To Create
Hands-on practice is essential because it brings questions and difficulties to the surface so we can solve them together. This allows you to move past those obstacles and finally start creating your vision.
Right after each show-and-tell session—both Kimberly’s and mine—our students immediately applied their newly learned skills. Working in small groups or individually, they styled and filmed their own short videos. This is typically when the energy in the room transforms—shifting from nervous anticipation to genuine excitement as people realise that creating beautiful content is getting within their reach!
Editing Demystified
Kimberly gives a walkthrough of her favourite editing app for the phone, free editing options, and easy go-to ways to add music, ASMR and voiceovers. Demonstration editing can be professional AND attainable!


Day Two: Putting It All Together
Recipe Reel
Day two was all about creating a recipe for videography!
I helped the students to understand how to tackle a Recipe Reel from start to finish, focusing on storytelling elements that make viewers stop scrolling.
The progression of shooting the footage from start to finish dish and ways to provide a natural narrative structure, but keeping only the relevant actions that elevate the recipe—something many participants hadn’t considered before. Students learned
- how to create different takes and angles
- shooting footage in the best order and for less editing
- styling the scenes
- capturing the most interesting steps of a recipe, what makes it unique?
- understand how to create a rhythm
- how to capture slow motion and fast movements


Premier Pro Editing
The last part of the afternoon focused on turning raw footage into polished content. Here I shared how to use Premiere Pro from setting a new project correctly, to cropping the footage and applying essential editing and saving with the right settings.
We know the day is long, so everyone received a follow-up lesson with 2 complete step-by-step videos on how to use Premiere Pro and develop a LUT to revisit and learn these concepts at home at their own pace.
The Takeaway
By the end of our two days together, everyone had created content they were proud of. More importantly, they left with a refreshing perspective: creating engaging Reels isn’t about perfection or performance—it’s about authentic storytelling with some technical know-how to back it up.
One of the students told us, “I realised I was overthinking it. Now I have a process I can follow and adapt to my style.”
A warm thank you to the students who trusted us with this third edition Anna, Caroline, Lizzie, Joanna, Julia, Nahid, Ruby
If you missed this workshop and would love to be part of the next one, sign up for my newsletter here, or if you want direct info on my workshop in London and online course openings at silvia(@)salvialimone(.)com
This workshop was made possible through the generous support of our sponsors: CBL Backdrops, Dante Ceramics, Tula Code finest natural chocolate.
And our assistants Andrea Natalia and Davinia Photography.
Big thanks to Kemble House Studio hospitality.


+ view comments . . .